Wednesday, December 17, 2025 →
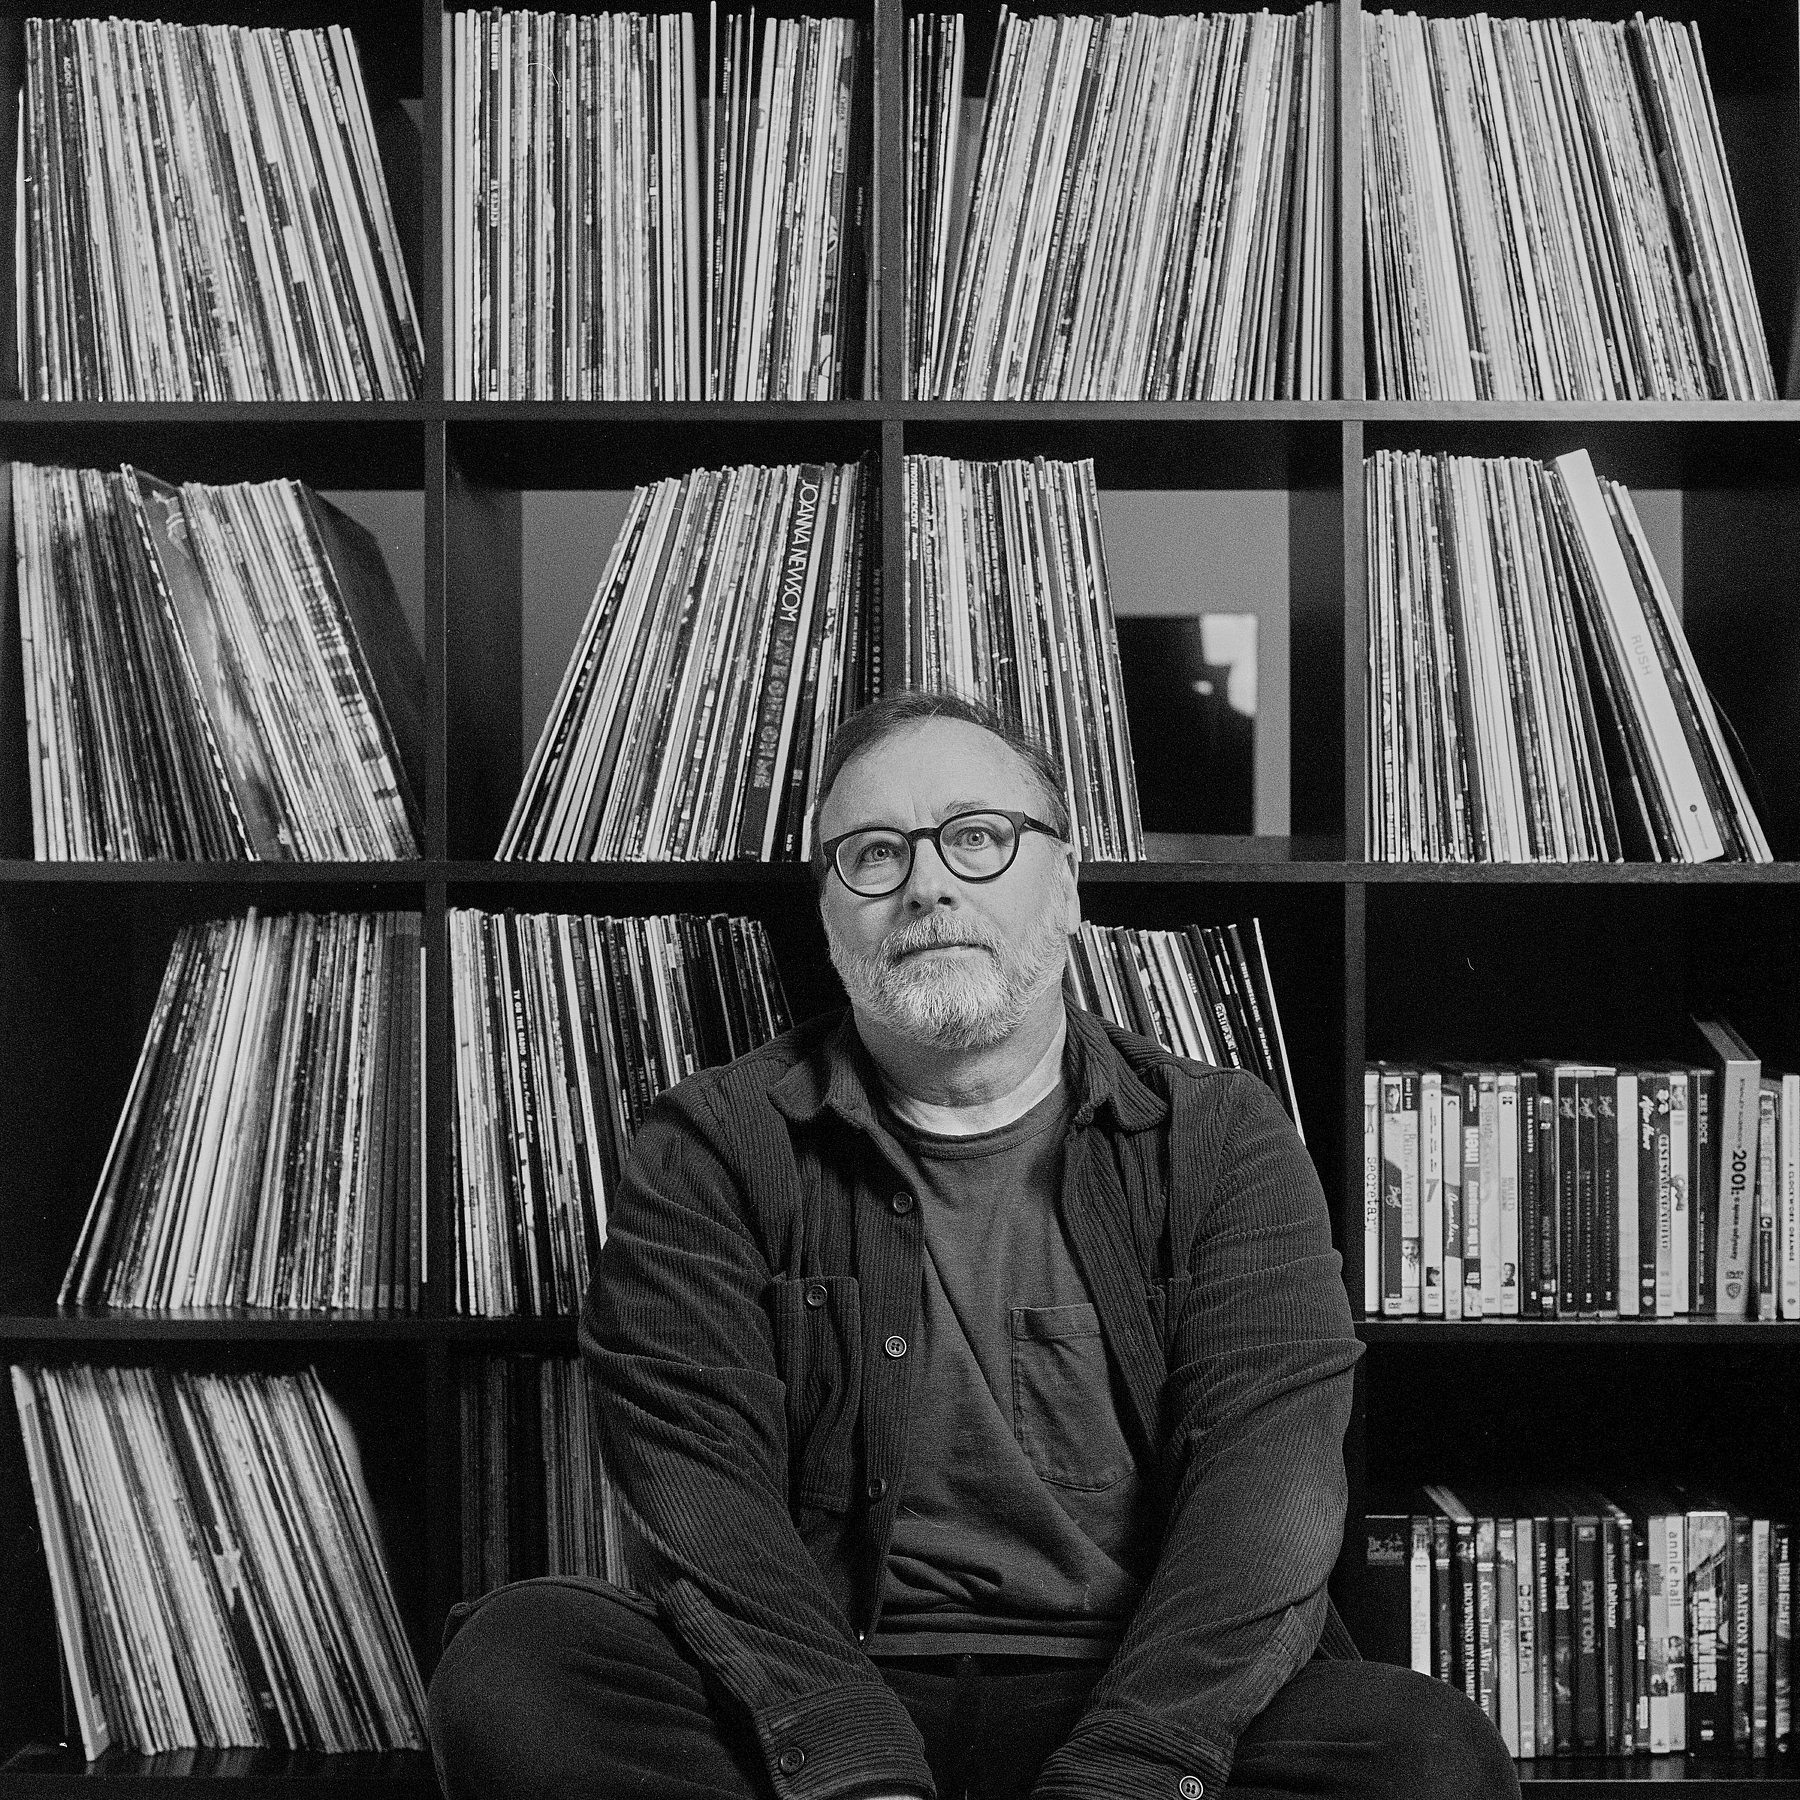
I needed a break from operating system fatigue, so I farted around with the Rolleiflex, the self-timer, and a roll of HP5
Wednesday, December 17, 2025 →
I needed a break from operating system fatigue, so I farted around with the Rolleiflex, the self-timer, and a roll of HP5
My notes are IMPORTANT!